
Editor's picks
Featured tutorials
Six practical guides selected from the PS Deluxe archive.
-
 Social Media Graphics
Designing Eye-Catching Social Media Graphics: Tips for Standing Out
In the vast landscape of social media, where millions of posts compete for attention every day, creating graphics that stand out is essential for grabbing your audience's attention
Read tutorial -
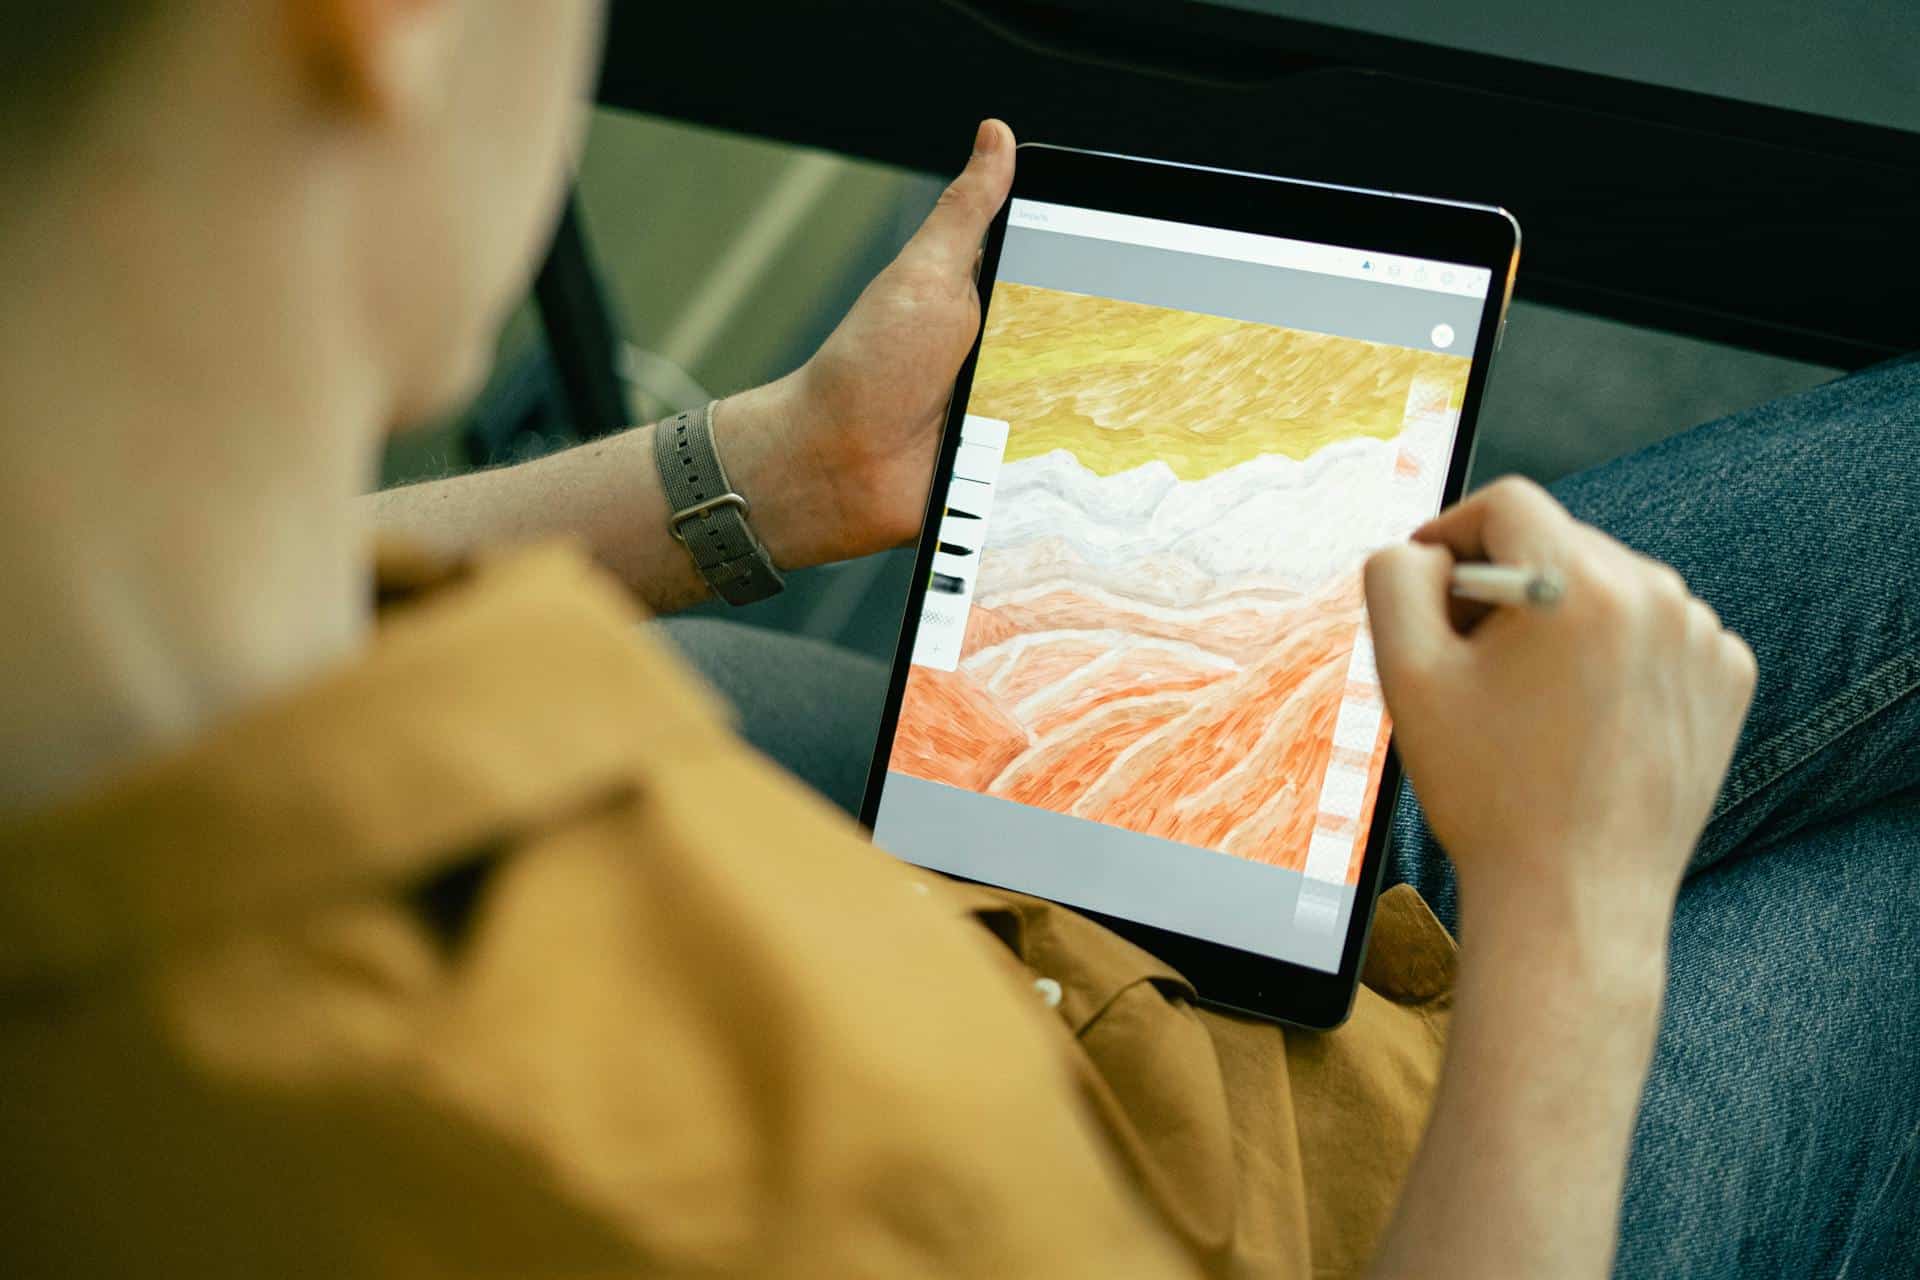
 Digital Painting in Photoshop
Digital Painting in Photoshop: From Sketch to Finished Piece
Digital painting in Photoshop is a versatile and powerful way to create artwork
Read tutorial -
 Environmental Concept Art
Environmental Concept Art
Creating environmental concept art is a thrilling journey that allows artists to bring imaginative worlds to life.
Read tutorial -
 Mastering Color Correction
Mastering Color Correction and Grading: A Comprehensive Guide
Color correction and grading are essential processes in the world of photography and filmmaking.
Read tutorial -
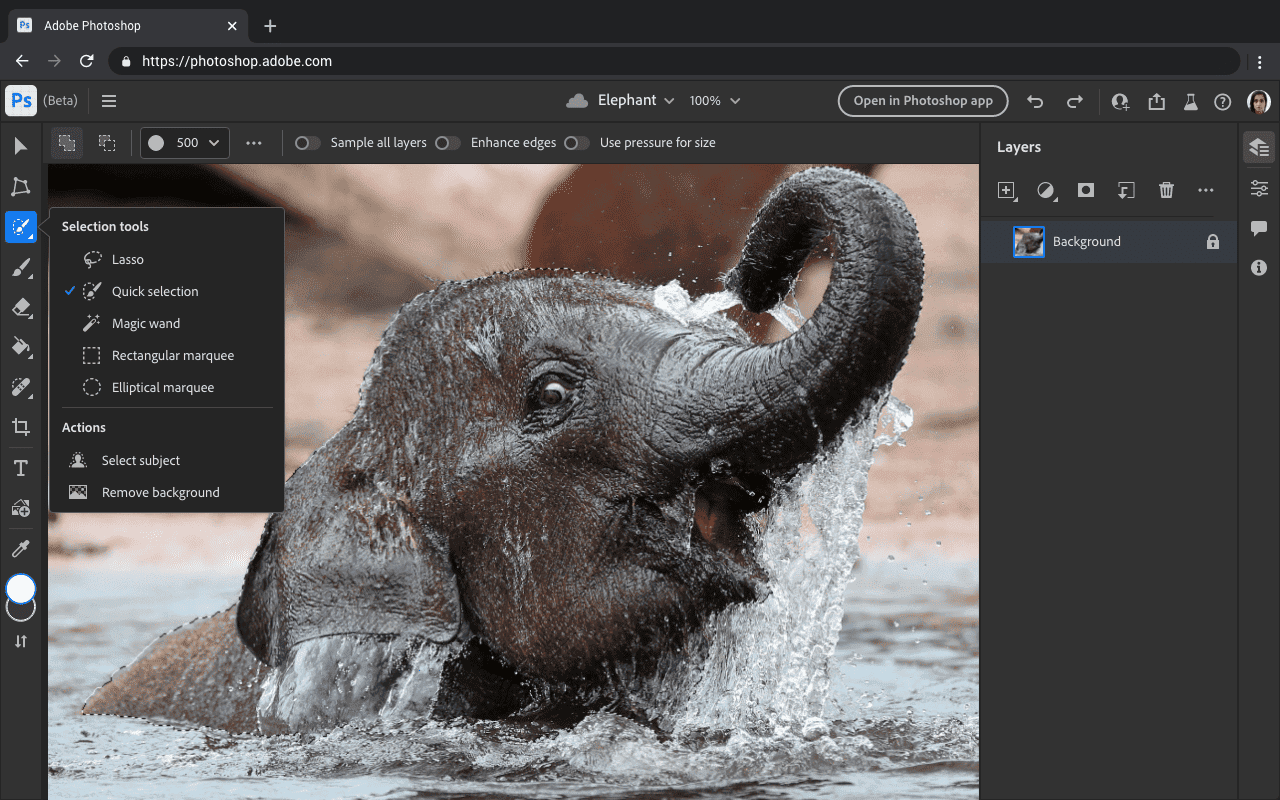
 Photoshop Tools
Mastering the Basics: Photoshop Tools and Their Functions
Photoshop, Adobe’s powerful image editing software, can be daunting for beginners due to its vast array of tools and features.
Read tutorial -
 Advanced Layer Techniques
Mastering Typography in Photoshop: Creating Eye-Catching Text Effects
Typography plays a crucial role in design, whether it's for a website, advertisement, or social media post.
Read tutorial
Index
Explore by category
Seventeen routes through the archive, from the first tool to the final grade.
- 01Advanced Layer Techniques
- 02Advanced Photoshop Features
- 03Blending and Lighting Techniques
- 04Creating Animated GIFs
- 05Digital Painting in Photoshop
- 06Editing Techniques
- 07Efficient Workflows
- 08Environmental Concept Art
- 09Mastering Color Correction
- 10Mastering Typography
- 11Photoshop for Web Design
- 12Photoshop Plugins and Extensions
- 13Photoshop Tools
- 14Retouching and Restoration
- 15Social Media Graphics
- 16Stunning Composite Images
- 17Unleashing Creativity
The archive
More tutorials
Long-form Photoshop lessons, arranged as a compact editorial ledger.
-
01
 Retouching and Restoration
Photo Retouching and Restoration: Techniques for Perfecting Images
Photo retouching and restoration are essential skills for anyone looking to enhance and preserve images.
-
02
 Photoshop for Web Design
Photoshop for Web Design
Photoshop is a powerful tool for creating web design mockups and assets that can bring your digital projects to life.
-
03
 Advanced Layer Techniques
Photoshop Plugins and Extensions
Photoshop plugins and extensions are invaluable tools that can significantly enhance your productivity and expand the capabilities of Adobe Photoshop.
-
04
 Editing Techniques
Mastering Non-Destructive Editing Techniques in Photoshop: Advanced Layer and Mask Strategies
Mastering non-destructive editing techniques in Photoshop is essential for creating professional and versatile designs. One advanced strategy involves the…
-
05
 Blending and Lighting Techniques
Creating Hyper-Realistic Composite Images: Advanced Blending and Lighting Techniques
Creating hyper-realistic composite images in Photoshop requires mastering advanced blending and lighting techniques. Start by carefully selecting and…
-
06
 Creating Animated GIFs
Creating Animated GIFs in Photoshop
Creating animated GIFs in Photoshop is a fun and creative way to add movement and visual interest to your designs.
-
07
 Stunning Composite Images
Creating Stunning Composite Images
Composite images combine multiple photographs into a single, seamless image, creating unique and often surreal results.
-
08
 Advanced Layer Techniques
Advanced Layer Techniques: Creating Depth and Complexity
Photoshop’s layer system is one of its most powerful features, allowing users to create intricate designs and complex edits.
-
09
 Advanced Layer Techniques
Unlocking the Power of Advanced Photoshop Features: Techniques and Tips for Experienced Users
Are you ready to improve your Photoshop skills? In this guide, we'll explore advanced Photoshop features and techniques
-
10
 Advanced Layer Techniques
Using Photoshop Actions for Efficient Workflows
Photoshop actions are beneficial for streamlining repetitive tasks and creating efficient workflows.
Editorial desk
Have a question or a topic request?
Tell us which Photoshop technique you want covered next.
Contact us