
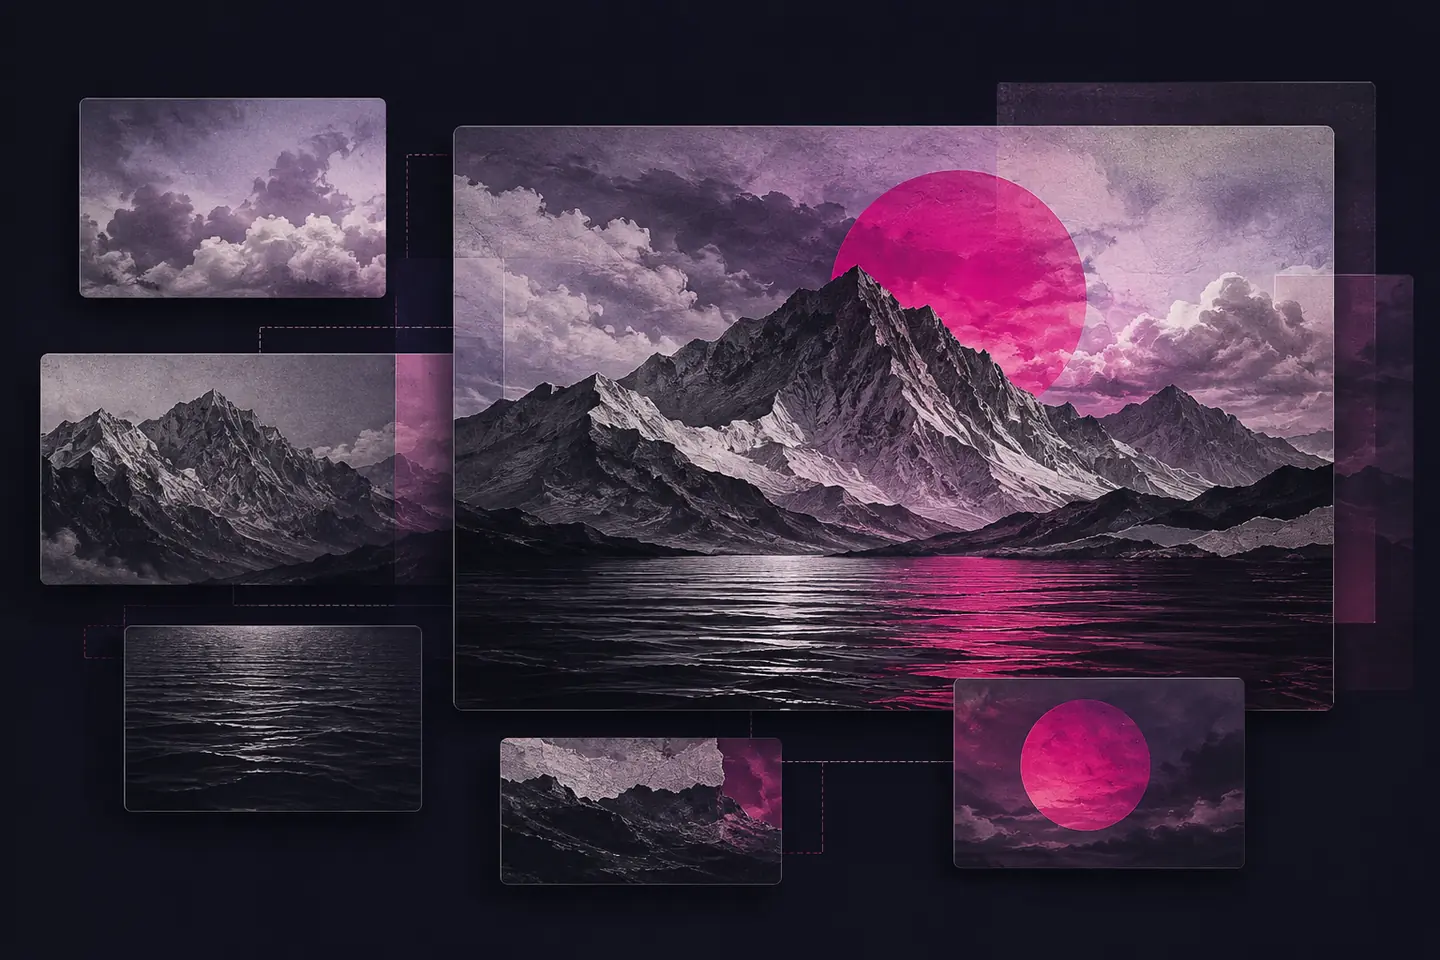
Combining photographs can mean arranging separate pictures on a page or blending them into one scene. A collage keeps each frame distinct; a composite uses layers and masks to merge subjects or backgrounds. A panorama stitches overlapping views together. Choose the method before editing: it determines which source photographs will work and how much adjustment they need.
Set the canvas and choose your photographs
Start with the finished image’s destination. A landscape banner, portrait print and square graphic need different proportions. Set the canvas shape before arranging photographs so that you can judge crops against the actual boundary. For print, establish the physical dimensions and required pixel dimensions before placing the images.
Aspect ratio describes the relationship between width and height. A vertical portrait beside a wide landscape may need cropping, extra space or unequal frame sizes. Crop copies rather than overwriting originals, and check that faces, hands and other important details remain inside the frame. For an illustrated cropping reference, see Apple’s cropping guidance.
Select photographs with a clear relationship: the same occasion, a sequence of actions, complementary colours or contrasting views of one subject. Begin with a small selection. A wide scene, a medium view and a close detail can explain a place more clearly than several nearly identical photographs.
Check each source at full size for sharpness and compression damage. Use the highest-quality originals available. A small image can occupy a smaller frame; stretching it to match a larger photograph will not recover missing detail. Correct obvious exposure or colour differences before judging the arrangement.
Make a collage with clear edges
A collage works when viewers need to see every photograph separately. A regular grid suits comparisons, while one large image with smaller supporting frames gives the composition a clear starting point. Avoid squeezing in extra pictures if the subjects become too small at the intended viewing size.
- Create a blank canvas at the required proportions.
- Place each photograph on a separate layer or in its own frame.
- Position the main image, then arrange the supporting photographs.
- Adjust each crop without stretching the image.
- Align the outside edges and make the gaps consistent.
Keep border treatments consistent. If a photograph needs more space because its proportions differ, use a deliberate margin rather than an awkward crop. A plain background usually makes mismatched edges easier to manage. Choose its colour by comparing it with the photographs, especially near pale clothing or dark shadows.
Template-based collage tools can provide a quick arrangement, but inspect their automatic crops. A face may land against an edge, or a central detail may disappear. If a frame cannot accommodate the subject, change the layout or choose another photograph instead of distorting the image.
For a sequence, use a reading order that makes the progression clear. Keep repeated subjects at comparable sizes if the purpose is comparison. For a more varied collection, give related photographs adjacent positions and leave enough separation that neighbouring edges do not appear accidentally joined.
Build a composite with layers and masks
A composite needs photographs that can plausibly share a scene. Choose the background first: it establishes the horizon, camera angle and lighting. Compare every added subject against it. A subject photographed from above will be difficult to reconcile with a background viewed from ground level, even with careful edge work.
Place each added photograph on its own layer. This lets you move cutouts into one document, reposition them and change their stacking order independently. Match placement and scale before refining edges. Use recognisable features such as doors or furniture as visual checks, while remembering that objects farther from the camera appear smaller.
Use a layer mask rather than permanently erasing unwanted pixels. A mask controls which parts of a layer remain visible while preserving the source for corrections. Start with a broad selection, then inspect difficult boundaries such as hair, foliage and transparent materials. Check the edge against both light and dark areas.
Match edge softness to the photograph. A sharply cut subject against a blurred background can resemble a sticker, but excessive feathering creates a halo. Work at full size for edge defects, then zoom out to judge whether the subject belongs in the scene.
Compare light direction, brightness, contrast and colour temperature separately. Correct a warm subject against a cool background with a targeted adjustment, rather than applying a heavy filter to the whole composition. Watch for pale fringes left by the original background, particularly around hair and clothing.
Check contact with the ground. A subject may appear to float if its base has no appropriate shadow or overlaps the surface incorrectly. Match any added shadow to the scene’s existing direction and softness. If the source lighting fundamentally disagrees with the background, another photograph is often the better starting point.
Stitch overlapping photographs
Use panorama stitching when the source frames overlap and show one continuous view. Adjacent frames need shared detail for alignment. During capture, keep exposure and focus consistent where possible, and rotate the camera carefully from a stable position. Nearby objects make changes in viewpoint especially noticeable.
Stitching aligns and warps images before blending their seams. Inspect buildings, railings and horizons for bends or breaks. Moving people, vehicles or foliage may appear twice or be cut apart where frames meet. Try changing the seam or selecting one frame’s version of the affected area.
Crop away empty or irregular outer edges only after checking the stitch. Leave enough room around important subjects for that crop. For photographs of the same view taken at different focus distances or exposures, use a focus or exposure blend instead; these require close alignment rather than a wider canvas.
Save an editable master and export a copy
Keep a working file that preserves layers, masks and adjustments, alongside the source photographs. This allows you to change a crop or replace one frame without rebuilding everything. Export separate copies for sharing rather than flattening your only editable version.
For preservation, retain the highest available resolution and avoid unnecessary rescaling or interpolation. The Library of Congress publishes guidance on archival formats. Its Recommended Formats Statement provides a preservation reference for still-image files. Give the working file and exports distinct names so that a smaller sharing copy cannot be mistaken for the master.
Choose the export format for its purpose. JPEG suits photographic images when transparency is unnecessary, but uses lossy compression. PNG supports transparency and lossless storage, though photographic files can be larger. The MDN image-format reference compares these formats with other web image options.
Create each required size from the working file. Repeatedly saving a JPEG can accumulate compression artefacts, especially around text and sharp edges. Inspect the exported file itself: settings that look acceptable in the editor may leave visible damage or flatten transparency against an unwanted background.
Check the finished image
- View it at its intended display size: every important subject should remain legible.
- Inspect at full size for seams, halos, duplicate objects and compression artefacts.
- Check crops, outside edges, borders and spacing for accidental inconsistencies. Look closely at corners where small gaps can escape notice.
- Confirm that composite subjects share believable perspective, lighting and scale.
- Reopen the saved working file and export to confirm both are usable.