
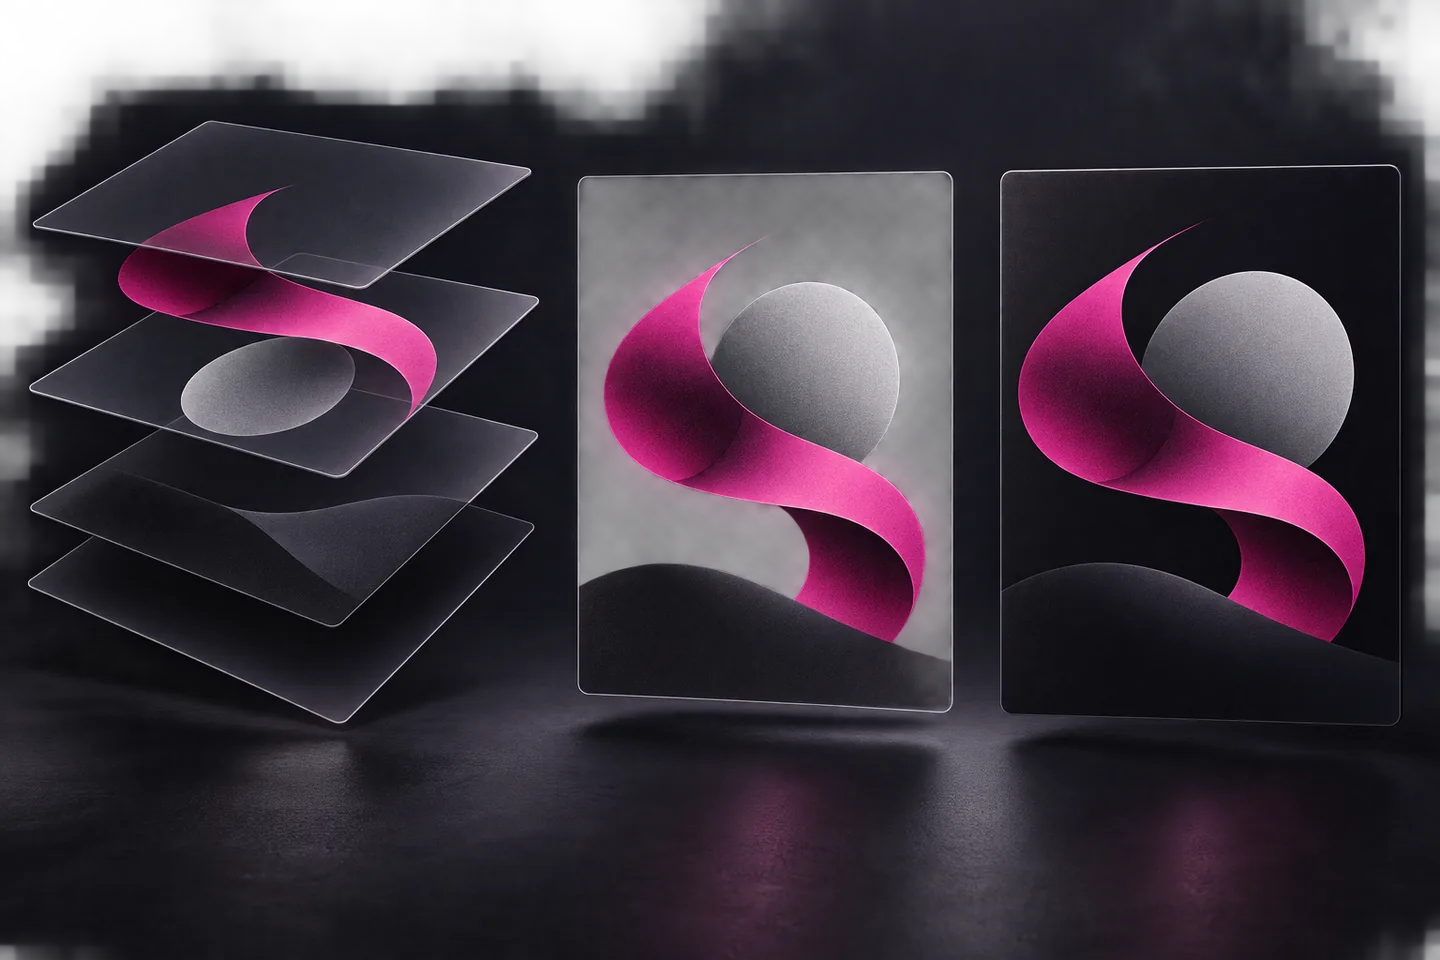
A finished Photoshop composite may need more than one file. Send a PSD when someone must revise its layers or masks, a transparent PNG when the visible result must sit over another background, and a JPEG when the recipient needs a flattened picture on a fixed background. Save the editable master first, then make each delivery file for a defined use.
Save an editable master
Save the working document as a PSD before exporting anything else. Reopen it and check that the layers, masks, text and adjustments you expect to change are still present. Adobe describes PSD as a format that retains Photoshop editing features in Adobe’s image-format guide. A PNG or JPEG can show the result, but neither substitutes for the layered working document.
Give the master a recognisable name, such as window-display-master.psd, and name derivatives for their destination or purpose. If the cut-out, text or colour treatment changes, edit the PSD and export the affected files again. Avoid making a correction only to a flattened derivative: it then becomes difficult to tell which file represents the approved composition. When handing work to another Photoshop user, send the PSD and ask them to confirm that its editable parts open as expected.
Choose a format for the next use
PSD is the handoff for continued Photoshop editing. PNG is useful when the exported image needs transparent pixels around a subject or graphic. It preserves the visible result and transparency, but not the Photoshop layer stack. JPEG suits a finished image with an intentional, solid background. It is flattened, does not carry transparency and uses lossy compression. Do not send a JPEG when the next person must place a cut-out over a different colour.
Transparency in a layer mask is not necessarily transparency in the exported image. A mask may hide the original background while another visible layer fills the whole canvas. Hide that fill layer for a transparent PNG; keep the intended background visible for a JPEG. Before export, inspect the Layers panel and the canvas rather than assuming that the chosen format will remove or supply a background automatically.
Ask for the required pixel dimensions and the intended destination before choosing settings. A layout may require a specific width, while a colleague continuing the edit may need the full-size PSD. File extensions alone cannot tell you whether a transparent edge is clean, a JPEG has enough detail, or a PSD contains the right layers. Those questions need checks on the saved files.
Sometimes one recipient needs two outputs: a PSD to revise the composition and a PNG to place its current appearance in a layout. Treat them as different deliverables made from the same saved master. Record which visible layers belong in each export, particularly if the document contains alternative backgrounds or text treatments. If a recipient asks for a transparent file, confirm whether they mean an isolated subject or the whole canvas with transparent margins; those produce different crops even when both are PNGs.
Export a sized PNG or JPEG
Open the saved PSD, set the visibility for the version you need and choose File > Export > Export As. Select PNG or JPG, set the dimensions or scale and review the preview. Adobe’s Export As instructions cover the format menu, PNG transparency, JPEG quality and scaled output. If you change the width, check the resulting height before saving.
Inspect all four sides of the preview. A canvas larger than the artwork can leave an unintended transparent border; a canvas smaller than the artwork can crop it. Image size and canvas size are separate controls in the Export As settings reference. Set both according to the delivery requirement, especially when the composite was built on a generous working canvas.
For a PNG, hide any background layer that should become transparent and enable the transparency setting. Check that empty space really is transparent rather than white artwork. For a JPEG, show the intended background and adjust quality while examining hair, texture, text and sharp boundaries. Compression can soften fine detail or create visible artefacts. Judge the saved image at its intended viewing size as well as at actual size; a quality number alone is not a visual check.
Review colour settings before exporting. Export As offers conversion to sRGB and profile embedding. Follow a destination's stated colour-space requirement if it has one. Otherwise, choose deliberately and compare the saved file with the working view in a colour-managed application. An embedded profile helps compatible software interpret the file; it cannot correct mismatched colour in the source layers.
Use Save a Copy for a separate derivative
When no export sizing is needed, File > Save a Copy is another way to create a PNG or JPEG from the current document. Choose a distinct filename, select the format and review its available options. Keep the PSD as the working original. Adobe describes the route in its file-saving guidance.
Options depend on the selected format. The Layers setting retains layers only where the format supports them; the Alpha Channels setting concerns saved channel information. Neither makes a JPEG transparent or turns a PNG into an editable PSD. Adobe explains the controls in Adobe’s file-saving properties. Reopen the copy after saving so that a wrong format, visible background or unexpected crop is caught before delivery.
Check a pale edge on a transparent PNG
A cut-out made against a pale backdrop may look clean over white but show a fringe on a dark page. Partly transparent edge pixels can retain colour from the old backdrop. Reopen the actual PNG and place it over both light and dark test backgrounds. Inspect the outline at actual-pixel zoom, including hair, clothing and small gaps. A fringe that follows the subject suggests an edge or mask problem. A straight empty strip along the frame instead suggests a canvas or crop problem.
For an edge problem, work on a separate layered copy. Add temporary light and dark backgrounds beneath the cut-out and inspect the mask at actual size. Refine the mask or clean the affected edge pixels in small sections. Compare both backgrounds after each change: removing a pale fringe too aggressively may leave a hard or clipped outline. If the layered copy looks clean while the exported PNG does not, review export scale, canvas and transparency settings before changing the mask again.
Export a fresh PNG and reopen that file for the final check. If the correction works, carry it into the retained layered master or designate the repaired layered copy as the new master. Regenerate any other derivatives that share the faulty edge. This prevents the source and delivered versions from disagreeing.
Do the edge test at the size at which the image will be used. Downscaling can change the apparent width of a fringe, while enlarging a small cut-out can expose a rough mask. If the recipient will place the PNG over several colours, a single white preview is an inadequate check. Use temporary background layers only for inspection, then verify that they are hidden in the final transparent export.
Verify the delivery files
- PSD: Reopen it and confirm the expected layers, masks, text and adjustments remain editable.
- PNG: Confirm dimensions and transparency. Test the edge over light and dark backgrounds, and look for stray pixels or an unwanted border.
- JPEG: Confirm dimensions and the solid background. Inspect fine detail and high-contrast edges for visible compression damage.
- Every file: Check its name, crop and colours after saving. Deliver the files you inspected, rather than relying on the appearance of the open PSD.