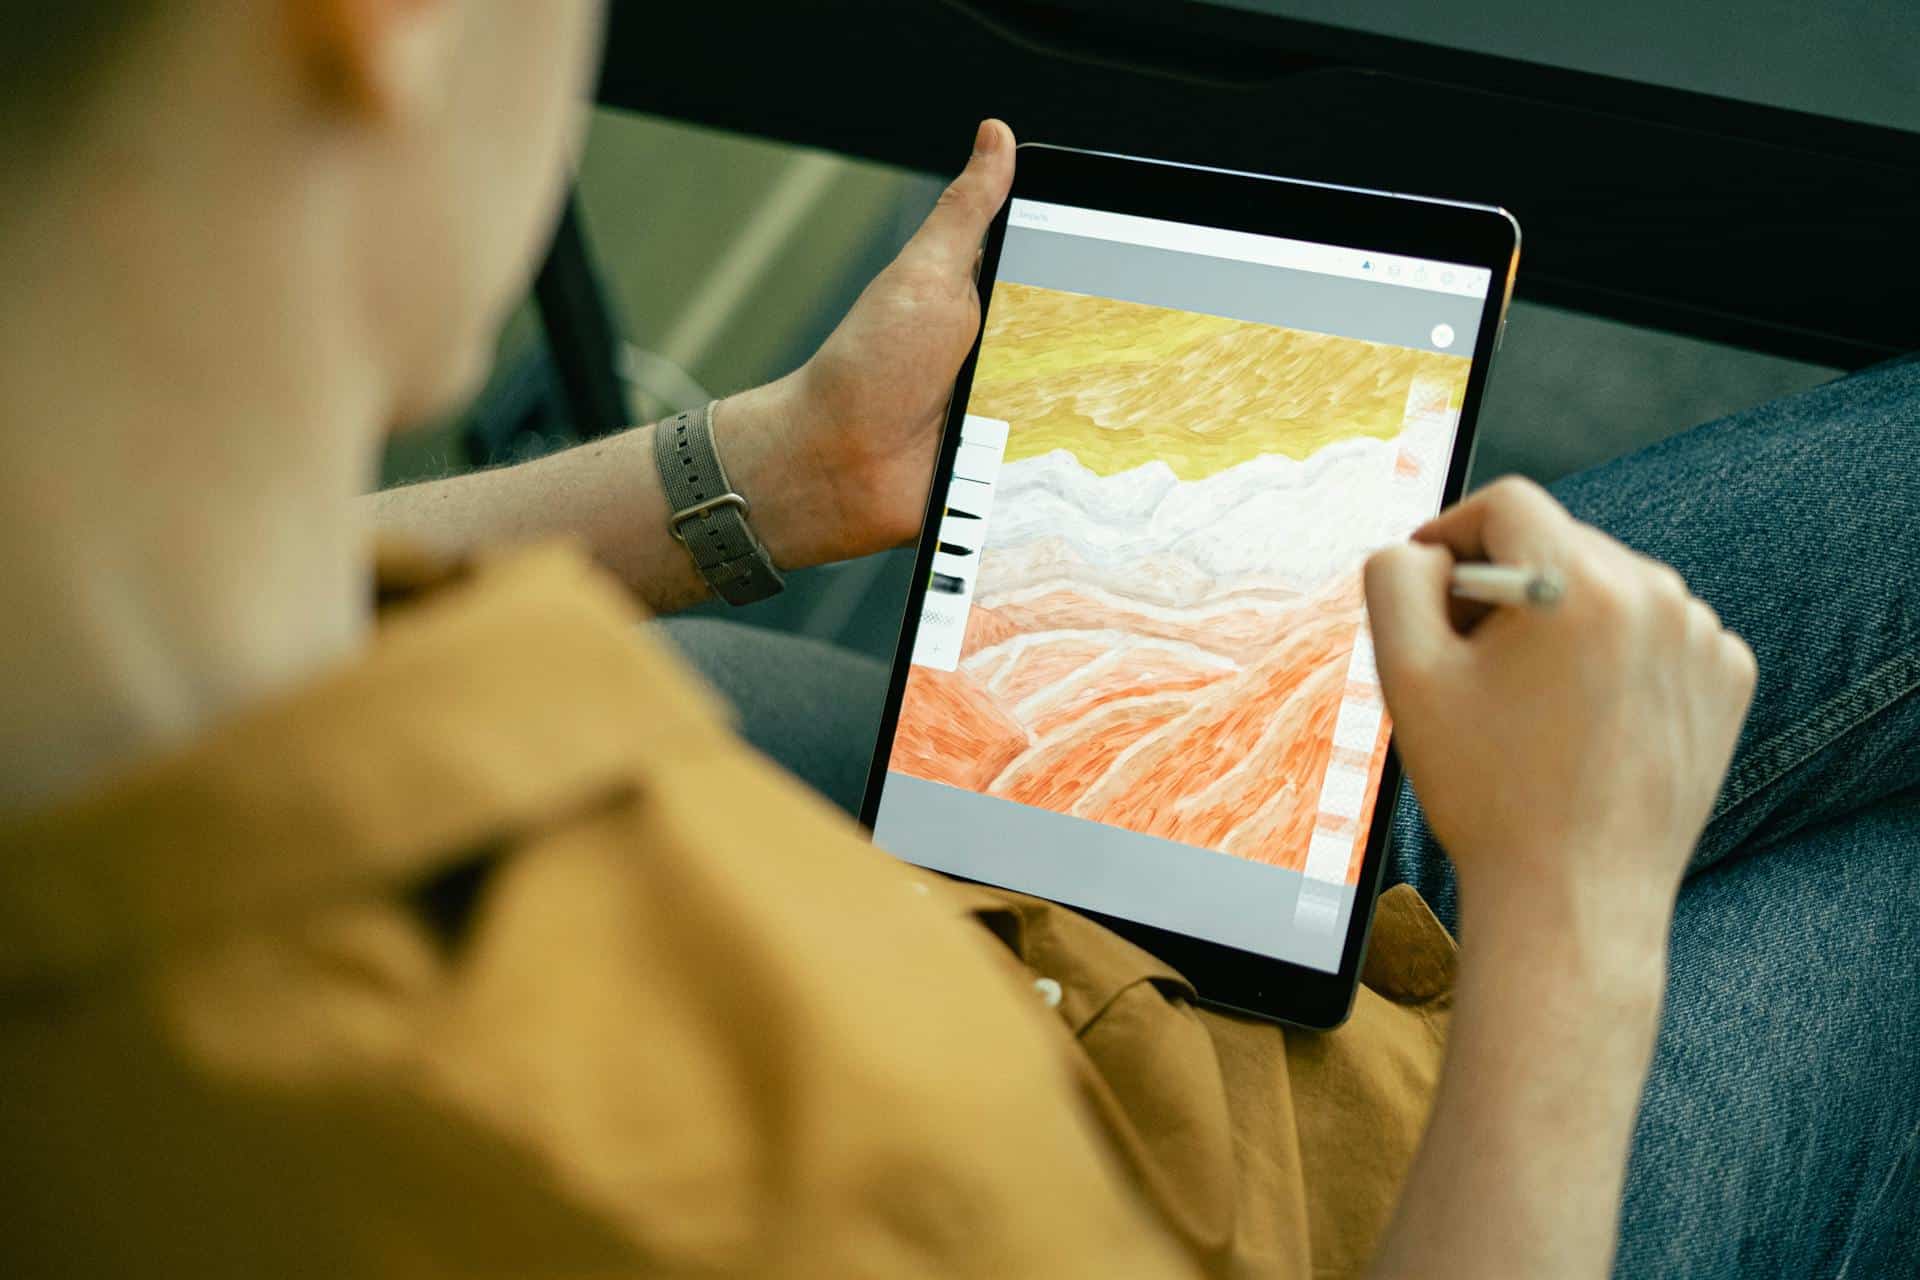
Color correction and grading are essential processes in the world of photography and filmmaking. They can dramatically enhance the mood, atmosphere, and visual appeal of your images and videos. Whether you're a beginner or an experienced professional, mastering these techniques can take your work to the next level.
Understanding Color Correction vs. Grading
Before diving into the techniques, it's essential to understand the difference between color correction and grading. Color correction involves adjusting the overall balance of colors in an image or video to achieve a more natural and accurate look. This includes correcting exposure, white balance, and color casts. On the other hand, color grading is a creative process that involves enhancing or altering the color palette to evoke a specific mood or style.
Setting the Right Foundation
Before you begin color correction and grading, it's crucial to start with a well-exposed and properly white-balanced image or video. Use tools like histograms and waveform monitors to analyze the tonal and color balance of your footage. Correct any exposure or white balance issues before moving on to creative grading.
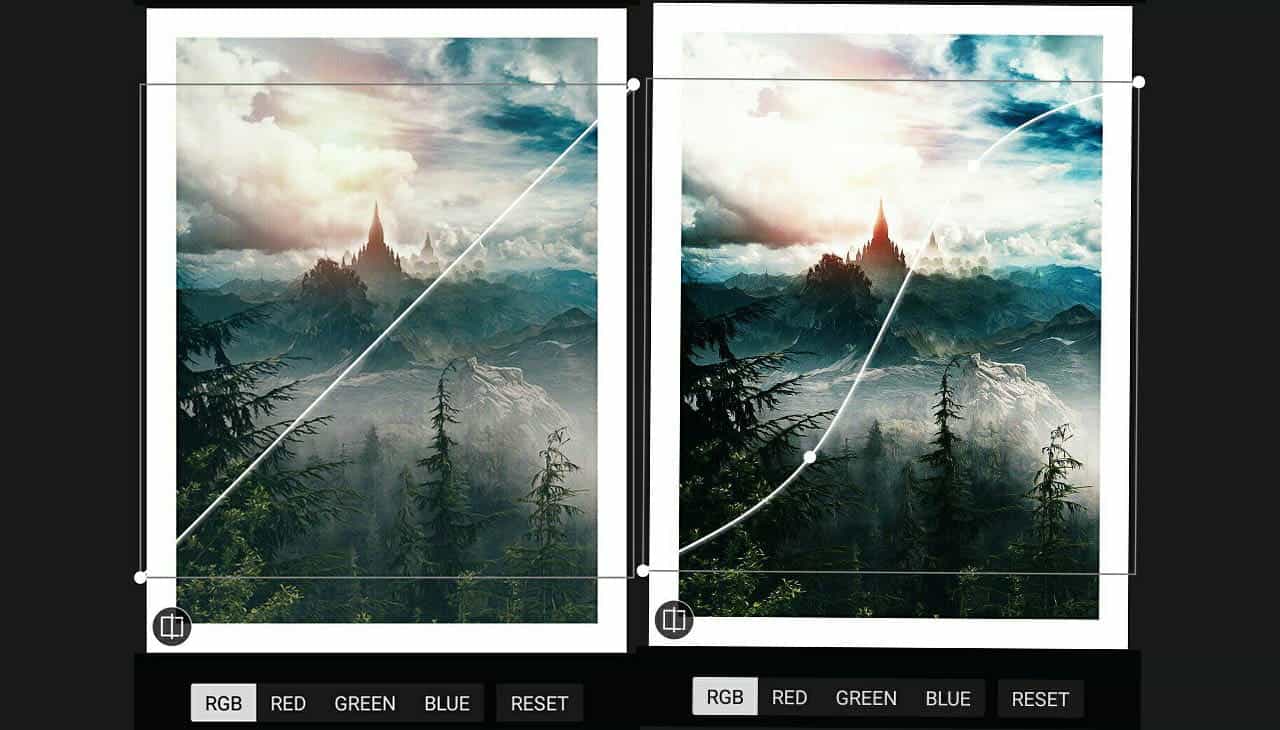
Using Curves and Levels
Curves and levels are potent tools for adjusting the tonal range and contrast of your images and videos. In Photoshop or editing software like Adobe Premiere Pro or DaVinci Resolve, use the Curves adjustment layer or the Levels effect to fine-tune the brightness and contrast of your footage.
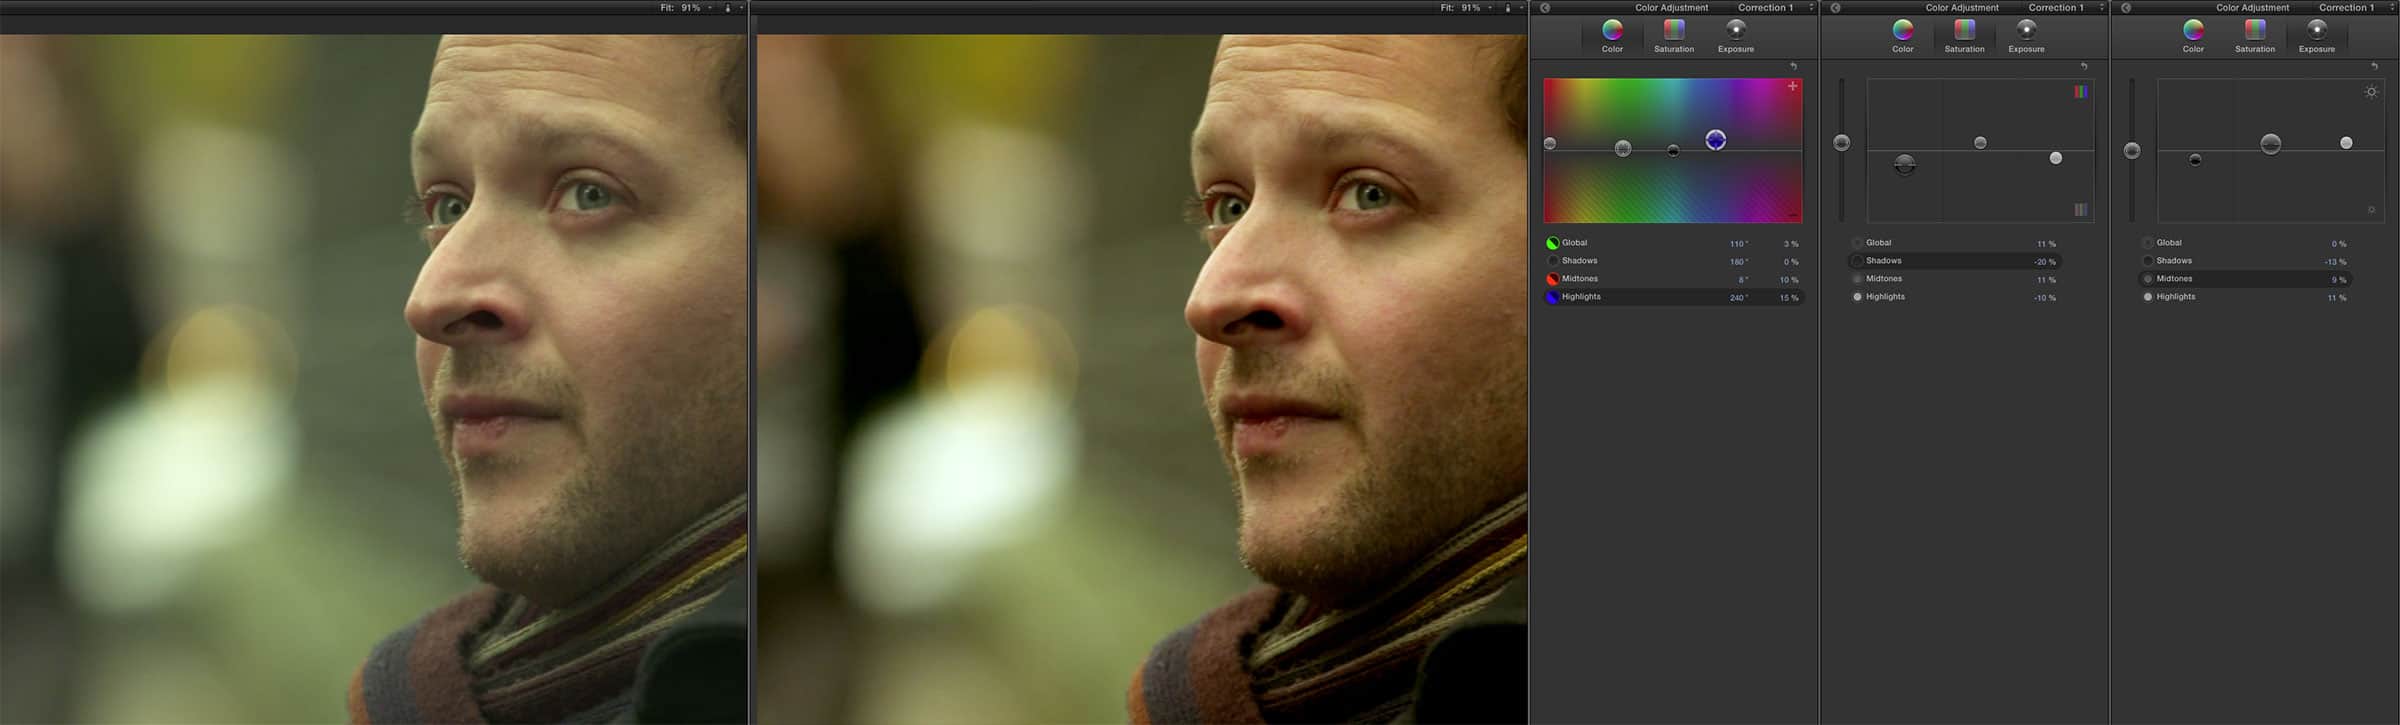
Utilizing Color Wheels and Color Grading Tools
Color wheels and grading tools allow you to precisely adjust the hue, saturation, and luminance of specific colors in your footage. Editing software like DaVinci Resolve uses the primary color wheels to change overall color balance and the secondary color wheels to target particular colors for correction or enhancement. Experiment with subtle adjustments to achieve natural-looking results, or push the colors to create bold and stylized effects.
Exploring LUTs (Look-Up Tables)
LUTs are pre-defined color presets that can be applied to your footage to achieve a specific look or style. You can create your custom LUTs or use pre-made LUTs available online. Experiment with different LUTs to quickly apply creative looks or stylized effects to your footage.
Maintaining Consistency Across Shots
When color grading a sequence of shots, it's essential to maintain consistency in color and tone to ensure a cohesive look. Use reference frames or still images as a guide to match the color and tone of each shot. Pay attention to factors like lighting conditions, skin tones, and environmental colors to achieve seamless transitions between shots.
Experimenting with Creative Effects
Once you've mastered the basics of color correction and grading, don't be afraid to experiment with creative effects and stylized looks. Try adding vignettes, film grain, or lens flares to add depth and texture to your footage. Explore different color palettes and grading techniques to create unique and visually striking visuals that enhance your project's storytelling.
In conclusion, mastering color correction and grading is a valuable skill that can elevate the quality and impact of your photography and filmmaking projects. By understanding the fundamentals of color theory, using the right tools and techniques, and experimenting with creative effects, you can achieve stunning and professional-looking results that captivate your audience's attention.
Sierra
Post navigation
 Watch the original video tutorialOpens on YouTube