

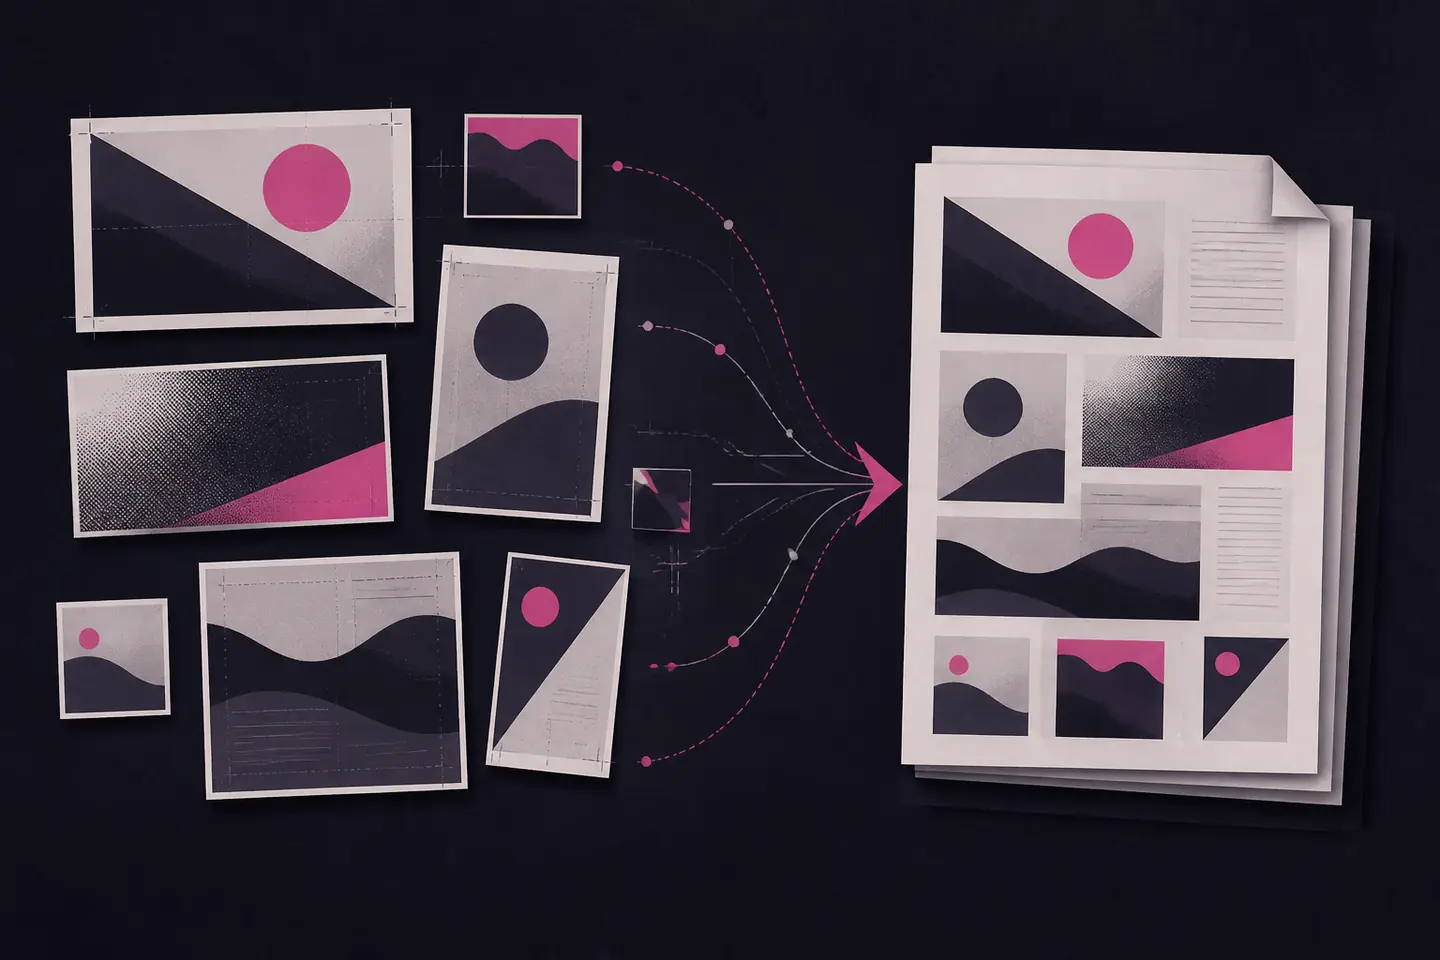
Combining images into one PDF gives a set of scans, photographs or screenshots a fixed order and a single filename. It is useful for forms, receipts, project records, portfolios and any other material that should be read as a sequence. A good result depends less on the conversion button than on the preparation: clear source images, sensible page order and suitable output settings.
This guide explains how to prepare the images, choose a conversion method, control the layout and check the finished file. The steps apply whether you work on a computer, use a mobile device or open an online image-to-PDF converter.
Decide what the PDF needs to do
Start with the document's purpose. A PDF intended for reading on screen can favour a smaller file, while one intended for printing may need larger, sharper images. A formal submission may require a particular page size, filename or upload limit. Check those requirements before editing the source files, because they influence every later choice.
Decide whether every image belongs in the document and whether each should occupy a separate page. A collection of related photographs may work as one image per page. Scanned paperwork normally needs the original page boundaries preserved. If the material includes existing PDF pages as well as images, choose a method that can combine PDFs and image files without turning the existing pages into lower-quality pictures.
Prepare the source images
Open every image before conversion. Remove blank shots, duplicate scans, blurred photographs and accidental screenshots. Check that small text, signatures, labels and page numbers remain readable at normal viewing size. A converter can place images into a document, but it cannot restore detail that is missing from the originals.
Crop away desk edges, fingers, scanner borders and unrelated background. Leave enough space around important content so that it will not be clipped by a page boundary or printer margin. Rotate sideways and upside-down images now. Correcting these issues before merging is quicker and more reliable than repairing individual PDF pages afterwards.
Use the original files where possible. Images copied through messaging services or repeatedly saved as compressed files may lose fine detail. JPG is generally suitable for photographs and ordinary scans. PNG is often better for screenshots, diagrams and text with sharp edges. If a camera or scanner has produced an uncommon format, convert a copy to JPG or PNG and confirm that the copy still looks correct.
Put the pages in a reliable order
Rename the images before importing them. Numbered names such as 01-cover.jpg, 02-form-front.jpg and 03-form-back.jpg make the sequence obvious. Use leading zeros when the set contains ten or more pages so that alphabetical sorting does not place page 10 before page 2.
Choose an order that matches how the document will be read. Paperwork normally follows its printed page numbers. Receipts may be arranged by date, while progress photographs may follow the stages of a project. Put explanatory or cover material first, supporting evidence next and appendices last. When several records are included, keep the pages for each record together.
Most converters show page thumbnails that can be dragged into position. Compare the thumbnail list with the numbered source folder and check the transitions between groups. This is where duplicated covers, missing back pages and misplaced attachments are easiest to spot.
Choose page size, orientation and fit
Use a standard page size when the PDF may be printed or submitted through a document system. Choose the regional size expected by the recipient. For a screen-only photo collection, allowing the page to follow each image may preserve more detail, although varying page dimensions can feel untidy.
Portrait orientation suits most letters, forms and phone photographs. Landscape orientation suits wide diagrams, slides and panoramic images. A document is easier to read when most pages share one orientation, but do not shrink wide content until its labels become illegible merely to force uniformity. Rotate individual source images or allow exceptional pages to remain landscape.
Preserve each image's proportions. Stretching a photograph to fill the page distorts faces and objects, while stretching a scan can deform text. Use fit-to-page and accept blank space around an image when its shape differs from the page. Add a modest margin for scans with information near the edge. Full-page photographs can use smaller margins if no content will be lost during printing.
Preview the smallest text before export. If it is difficult to read, use a larger source image or reduce the amount of scaling. Avoid aggressive compression on documents containing fine print, handwriting or technical drawings. For ordinary screen viewing, moderate compression may reduce the file substantially without an obvious loss, but the result must be checked rather than assumed.
Convert the images
Many computers and mobile devices can create a PDF through their print menu. Select the prepared images in order, open the print command, choose the option to save or export as PDF, and inspect the preview. Menu names vary, but the essential controls are page size, orientation, image fit, margins and page order.
A dedicated desktop application is useful when you need to rotate individual pages, mix file types or edit the document after conversion. An online service is convenient when no suitable local tool is available. Some services also explain how to merge PDF and JPG files in a single sequence.
Consider privacy before uploading anything. Identification documents, financial records, medical paperwork, signatures and private photographs are better handled with an approved local method unless you have verified how the service processes, stores and deletes files. A secure connection protects data in transit, but it does not by itself explain retention or access. Read the current privacy and deletion terms rather than relying on a general claim.
Keep the browser or application open until conversion and download are complete. Save the PDF into the working folder with a descriptive name, avoiding vague names such as scan-final.pdf.
Check the finished PDF
Open the saved PDF rather than trusting the conversion preview. Move through every page at normal zoom, then enlarge pages containing small text. Compare the final page count with the source folder. Confirm that the first and last pages are correct and that no image has been repeated, omitted, cropped or rotated.
- Order: Check page numbers, dates, front-and-back pairs and section boundaries.
- Readability: Inspect fine print, handwriting, stamps, labels and pale scans.
- Layout: Look for distortion, excessive blank space and content too close to an edge.
- File size: Confirm that the document meets any email or upload limit.
- Privacy: Check every page for information or background details that should not be shared.
If the file is too large, return to copies of the source images and reduce their dimensions or quality in small steps. Keep the full-quality PDF separately if it has archival value. Do not repeatedly compress the same PDF, because each pass can make text and photographs worse. After creating a smaller copy, repeat the readability check.
Fix common problems
Pages appear in the wrong order
Return to the source folder, make the filenames consistent and sort them by name. Import the complete set again, then verify the thumbnail order before export. If only one page is misplaced and the application supports page editing, move it within the PDF and save a new version.
Pages are blurry or text is difficult to read
Check the original image at full size. If the original is sharp, the export settings or scaling caused the loss, so convert again with less compression or a larger page fit. If the original is already blurred, rescan or rephotograph it under even light. Sharpening may increase contrast around letters, but it cannot recover missing detail.
Pages are cropped or surrounded by large borders
Cropping usually means the converter used a fill-page setting. Switch to fit-to-page or add margins. Large borders appear when the page and image have different shapes; choose a closer page orientation or crop only genuinely empty space from the source. Never crop away notes, signatures or page numbers simply to make the layout look uniform.
The conversion fails
Confirm that every source file opens normally. Convert unusual formats to a standard image type, shorten exceptionally long filenames and try smaller groups to identify the troublesome file. If one image produces a blank page, save a fresh copy from an image editor and test it alone. For an online method, also check the stated file-size and format limits.
Store and share the result carefully
Keep the original images until the PDF has been reviewed and accepted. Store the final file in a backed-up location with a name that identifies its contents without exposing unnecessary personal information. When sharing, use the recipient's approved channel and restrict access to the people who need it. Reopen the shared or uploaded copy once more if the document is important; this confirms that the transfer completed and that the correct version was sent.