

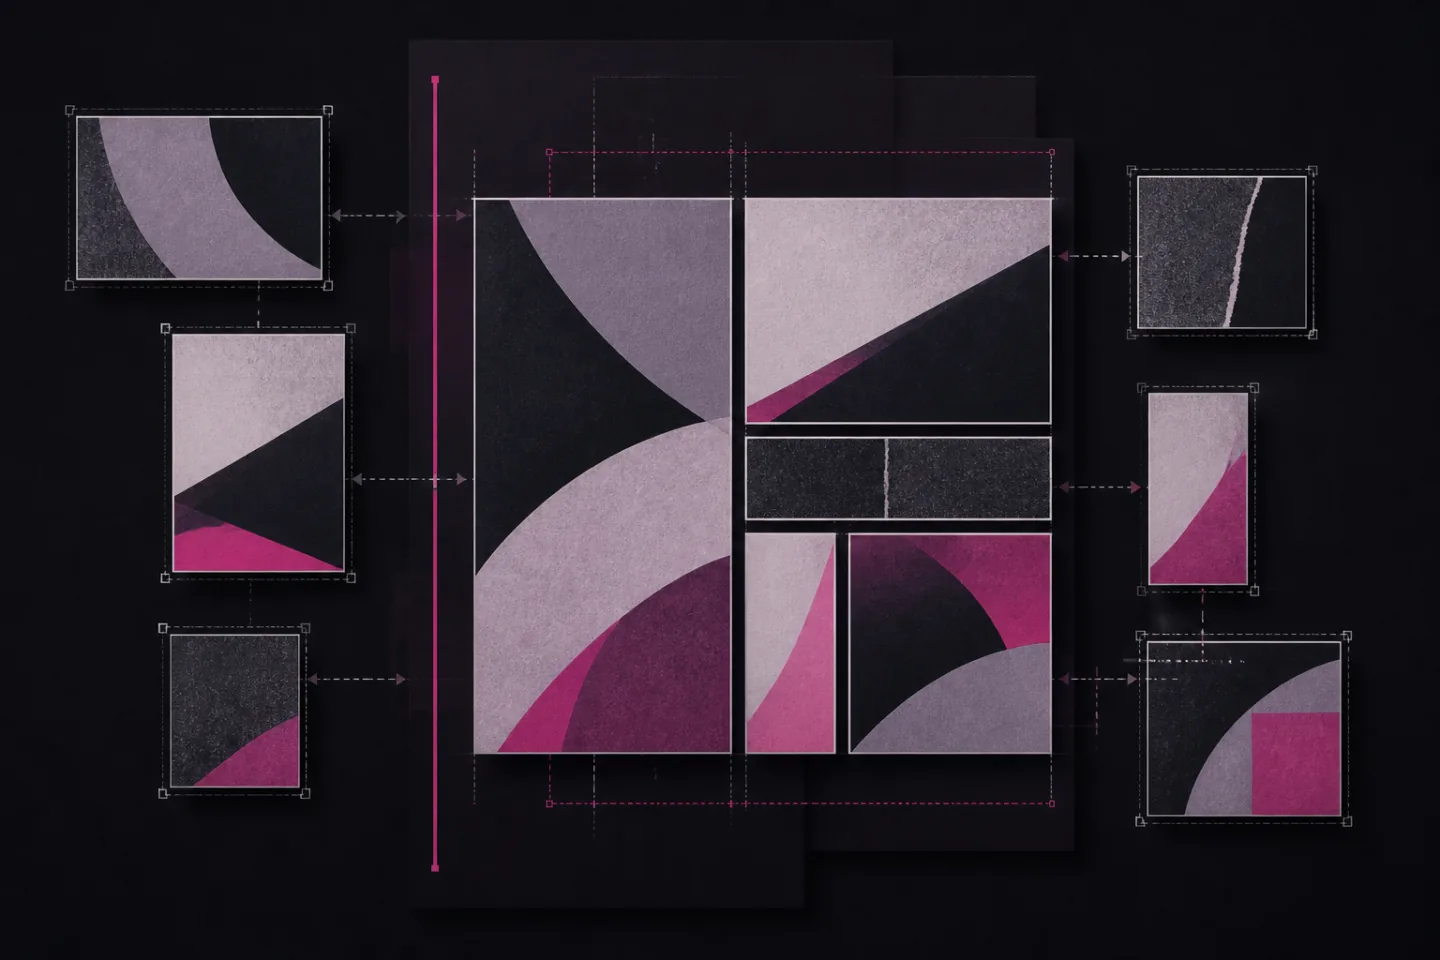
Merging several images into one file is useful for comparisons, tutorials, contact sheets, presentations and social posts. The main choices are layout, image order, cropping, spacing and output format. Decide where the finished image will be used before uploading anything, because a wide comparison, a tall sequence and a printable grid need different dimensions.
Choose a layout that fits the purpose
A horizontal layout places images from left to right. It suits before-and-after comparisons, product variations and any pair of pictures that should be viewed together. Similar heights and aspect ratios reduce empty space and prevent one frame from dominating. A narrow, even gap can make the boundary clear without distracting from the content.
Horizontal image merging tools let users set upload order, controlling how viewers read the combined image. Keep that order deliberate: in left-to-right reading contexts, the first image will usually be understood as the starting point.
A vertical stack works for screenshots, instructions and chronological sequences. Match the widths, then place the images from top to bottom in the order a reader should follow. Very tall results can be awkward on smaller screens, so divide a long sequence into separate files when each part needs to remain legible. A white or transparent gap helps distinguish separate screenshots. A vertical image stacking tool can combine different file types and preserve order.
A grid is better for collections in which no single image needs to fill the whole canvas. Choose rows and columns that suit the number of pictures rather than leaving an accidental empty cell. Equal cell sizes create rhythm, while consistent crops keep faces, horizons or objects aligned. A custom grid image combiner with optional borders can help manage mixed photo sizes.
Prepare the source images
Keep originals and organise the sequence
Work from the largest available originals and keep them untouched in a separate folder. Rename working copies in sequence if the tool does not preserve upload order. Remove duplicates before arranging the composition, and rotate any files that rely on orientation data so the preview matches the intended result.
Upload files in the intended sequence; most tools support JPG, PNG and WebP. Arrange files using drag-and-drop if needed. Crop or resize images first for consistent alignment. Preview the layout to ensure correct order and remove duplicates. Multi-image merge tools offer horizontal, vertical, and grid placements.
Match dimensions without distorting subjects
Mismatched sizes are not automatically a problem, but they require a clear rule. For a horizontal comparison, match image heights. For a vertical sequence, match widths. For a grid, use a shared aspect ratio and crop each frame to fit. Some online tools auto-scale files, but manual resizing gives more control.
Never stretch a narrow image merely to fill a space. Either crop it, place it on a background or change the layout. When cropping, keep the important subject away from the cut edge and align recurring features such as faces, horizons, product bases or interface controls. Consistent cropping removes distracting elements and ensures visual anchors align.
Check colour and exposure
Images taken under different lighting can look unrelated when placed together. Correct obvious differences in brightness, white balance and contrast before merging, but avoid heavy adjustments that erase useful detail. Neutral backgrounds such as white, grey or black usually work across mixed photography. If an accent colour is needed, choose one already present in the images and use it sparingly.
Build the combined image
- Set the canvas. Choose the final orientation and approximate dimensions for the destination. Allow space for gaps, borders or captions before placing the images.
- Add files in order. Confirm that each image is upright and that no file appears twice. Rearrange the thumbnails rather than relying on filenames alone.
- Choose the fit. Decide whether each image should be cropped to fill its frame or scaled to fit inside it. Apply the same rule throughout a grid unless a deliberate feature image needs more space.
- Set spacing. Use equal gutters and borders. White works well for documents and product images; dark backgrounds can suit photographs; transparency is useful when the merged graphic will be placed over another design.
- Inspect the preview. Check order, alignment, cropping and background at full size. Look especially at faces, small text and the outer edges of the canvas.
- Export a working master. Keep one high-quality file before producing smaller copies for websites, messages or social platforms.
A browser-based image combiner provides options for layout and spacing. A free image merger with local processing lets users download the file without account creation. These descriptions are useful search terms when comparing interfaces, but file handling and export options should be checked on the tool itself before sensitive material is uploaded.
Improve alignment and readability
Visual balance depends on more than symmetry. A dark or detailed photograph can feel heavier than a pale, simple one of the same size. Reorder the frames, adjust their relative size or add quiet space until the composition feels stable. Leave enough negative space to prevent captions, borders and subjects from competing.
Borders help separate images with similar colours or backgrounds. Keep border width consistent and avoid mixing styles unless the distinction carries meaning. Captions should be brief, use one type style and sit in a consistent position. Do not place essential text over a busy area or close to an edge that may be cropped later. A consistent layout is easier to achieve with an online image layout combiner.
Horizontal, vertical, and grid merging tools help maintain consistent spacing and backgrounds. A photo merge tool with layout selection is useful for quick asset preparation. Online image-combining templates and design elements can add captions, dates, or simple borders without placing text over faces or key details.
Select the right output format
PNG is appropriate for graphics, interface captures, line art, small text and transparent areas. It preserves sharp edges and transparency, although the file may be larger than an equivalent photographic export.
JPG is usually suitable for photographs and collages without transparency. Compression can reduce file size, but repeated saves may create blockiness, ringing around edges or smeared detail. Return to the working master rather than recompressing an already compressed copy.
WebP can provide compact web images and supports both photographic and graphic content. Confirm that the publishing workflow accepts it; use PNG or JPG when an older system requires those formats. An image merger supporting JPG, PNG, and WebP can suit projects that need a choice between web-friendly formats without installing desktop software.
For a website, export at the display dimensions instead of relying on the browser to shrink an oversized file. For print, set the canvas to the final physical size and provide enough pixels for the printer’s requested resolution. The U.S. Government Publishing Office: Digital Print Production guidance explains production considerations, while Encyclopedia Britannica: Image Resolution provides background on digital image processing and resolution.
Protect private material
Do not upload confidential documents, identification images, medical records, client work or private family photographs unless the service clearly explains how files are processed, retained and deleted. Prefer local processing for sensitive material, where the browser performs the work without transferring originals to a remote server. Read the privacy terms rather than relying only on a short interface label.
For example, a private browser image composer states that it lets users arrange and download images without transferring the originals to its server. Treat such statements as claims to verify before use. If the policy is unclear, merge the files with trusted offline software instead.
Check the finished image for details that were easy to overlook in the separate files. Crop addresses, account numbers, QR codes, open browser tabs, notification banners and other personal information before sharing. Remove location or device metadata when it is not needed. Use an access-controlled link or protected archive for non-public material rather than posting it to an unrestricted page.
Check the finished file
- Open the exported file, not only the editor preview.
- Confirm the reading order and orientation of every frame.
- Inspect crops, borders and gutters at 100 per cent zoom.
- Check that small labels remain legible on the intended screen or print size.
- Confirm that colours and transparency display as expected.
- Keep the originals and a high-quality master for later revisions.
A careful merge should make the relationship between the images immediately clear. Choosing the layout first, preparing consistent source files, checking privacy and exporting for the actual destination prevents most avoidable problems.