
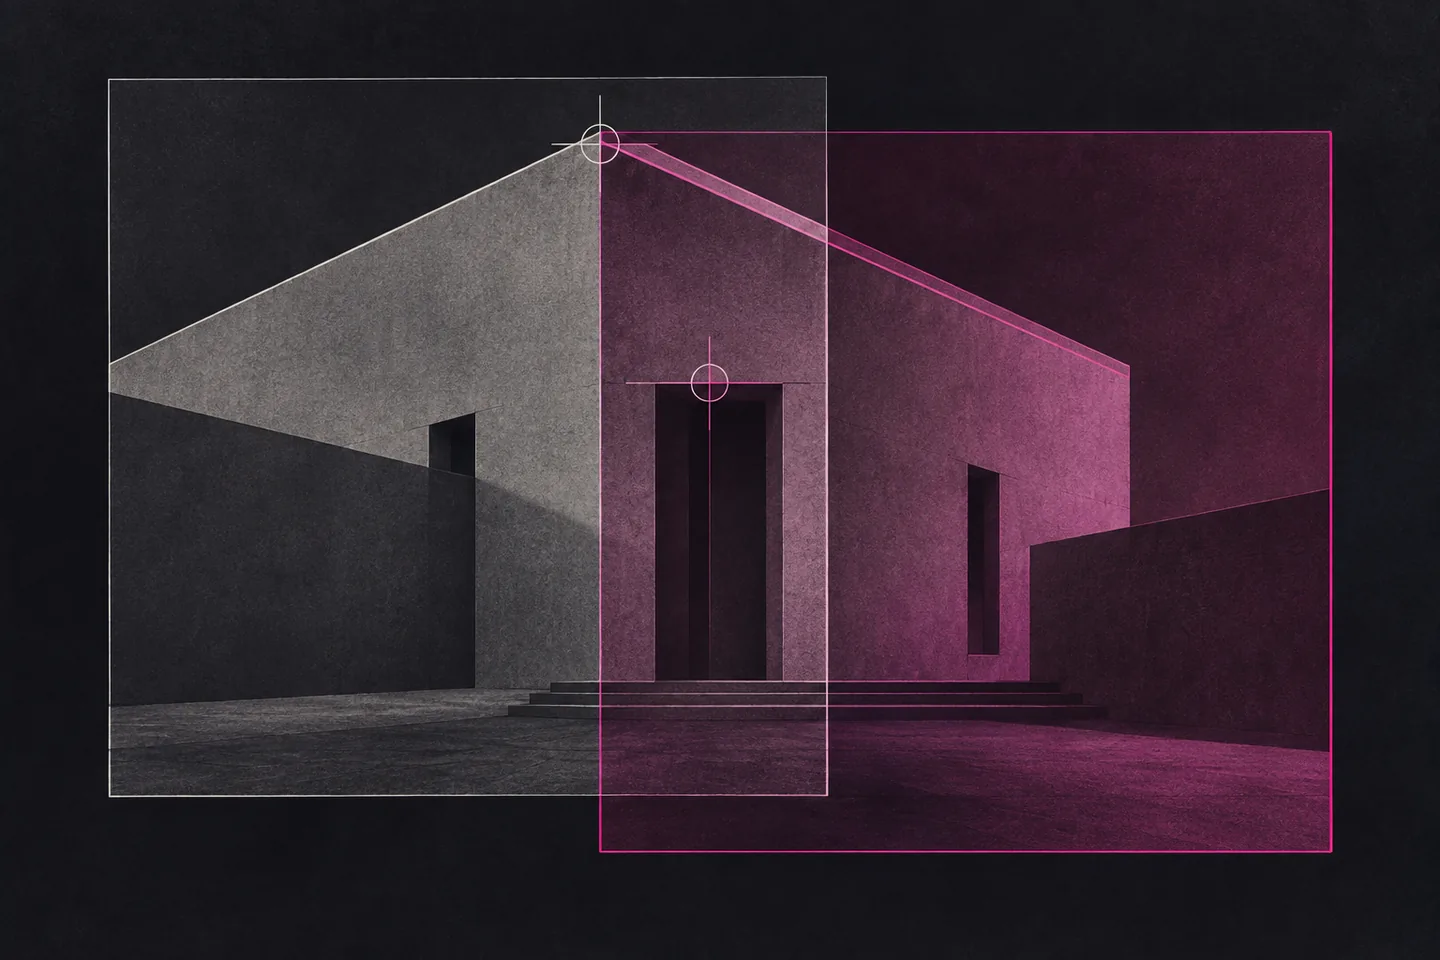
When two photos show the same scene, blending works only if the shared details sit in the same place. A roofline that appears twice or a doorway with a faint second edge is an alignment problem, even if the layer boundaries look tidy. To align images in Photoshop, first register the content the photos have in common. Then decide how to blend them.
First, choose the kind of alignment you need
Photoshop has commands with similar names that solve different problems. Layer > Align lines up selected layers by positions such as their top edges, left edges or centres. It is useful for arranging elements in a layout. It does not examine whether the same window, tree or horizon occupies the same pixels in two photographs. Adobe’s guide to aligning layers describes these position-based options.
Edit > Auto-Align Layers addresses the photographic problem. It looks for similar content, including corners and edges, across the selected image layers and moves or transforms layers so that matching features overlap. Adobe documents that behaviour in its Auto-Align Layers instructions. A pair of equally sized files can therefore need image alignment, while two files with different canvas sizes may already have their important features aligned. Judge the scene, not the rectangles around it.
A two-photo exercise: match the doorway before you crop
Choose two photographs of the same building taken from nearly the same position. In both frames, find a clear doorway near the centre and a roof corner farther from it. The doorway will be your first reference; the roof corner will reveal whether the rest of the scene also lines up. A small change in camera position or angle makes the exercise useful without turning it into a panorama.
Open the first photograph and bring the second into the same Photoshop document as a separate layer. Name them “Reference” and “Moving photo.” Keep an untouched copy of each source. Place the photo whose framing you prefer beneath the other one; it will be the reference for your visual checks. If either working layer has an existing mask or large transparent area, use a clean copy of its photograph for the initial alignment so the shared scene remains visible.
Before running a command, toggle the upper layer’s visibility. Notice the doorway moving between positions. Reduce the upper layer’s opacity to roughly half so both photos can be seen together. You should now see two versions of any feature that misses its match. Check the doorway and roof corner rather than trying to judge the entire frame at once. This is the “before” state: two photos overlap on the canvas, but the scene has not yet been registered.
Try Auto-Align Layers when the photos share clear details
- Select the two working photo layers. Avoid selecting adjustment layers or other layers that do not contain the scene you want matched. Keep your untouched sources available if a working layer needs to be rasterised.
- Choose Edit > Auto-Align Layers. Start with Auto when you are unsure which projection suits the pair. For photos that mainly need to shift without a change of shape, try Reposition and compare the result.
- Inspect the overlap before accepting it as finished. Return the upper layer to partial opacity. Zoom in on the doorway, then inspect the roof corner and another feature near the opposite side of the frame.
Adobe describes Reposition as matching overlapping content without stretching or skewing the source layers. Its other projection choices allow different transformations, including perspective changes. That makes the setting consequential: a dramatic transform may make one region agree while changing the shape of another. The useful result is the one in which the features you intend to blend agree across the relevant area, not simply the one that fills the canvas most neatly. Adobe’s projection descriptions provide the distinctions between the Auto-Align options.
After Auto-Align, transparent wedges or uneven outer edges are normal signs that the layers have moved relative to the canvas. Leave them alone for now. If the doorway has become a single clean edge but the roof corner still appears doubled, inspect the photos more closely before cropping: the pair may differ in scale or viewpoint, or part of the scene may have moved between shots.
Use a manual overlay when feature matching fails
Automatic alignment needs shared visual information. If it places the moving photo far from its expected position, undo the result and return to the two original working layers. Set the upper layer to partial opacity again. Select only that layer and use the Move tool to bring the doorway over its counterpart. Zoom in, make small adjustments, and toggle the layer on and off to test whether the two edges occupy the same position.
If the doorway matches but the roof corner does not, choose Edit > Free Transform for the moving photo. Adjust its scale or rotation gradually while watching both reference points. Commit the transform and check a third feature away from the first two. Matching one point is easy; matching separated points is what shows whether the photos are genuinely aligned. Keep the reference layer still so every change has a clear cause.
When the centre and edges demand incompatible adjustments, stop trying to force a perfect global match. A changed viewpoint can make near and distant objects shift by different amounts. Choose the area that matters for your intended blend and align that area accurately. If the finished composition requires the entire frame to match, another pair of photographs may be the better starting point. A mask can control which aligned region appears, but it cannot restore a shared viewpoint the photos never had.
The “after” state for the exercise is easy to recognize: with the upper layer at partial opacity, the doorway has one clear outline, and the roof corner no longer separates into two competing edges within the area you plan to keep. Toggle the upper photo off and on for a final check. Only then return its opacity to full and begin any masking or blending.
What a failed alignment is telling you
- Details grow more doubled away from the doorway: the photos may differ in scale or rotation. Try a careful Free Transform and check two distant features. Compare Reposition if Auto distorted the scene.
- One side matches while the other leans away: the viewpoints may differ. Align the region you will actually show, or choose another pair if the whole frame must match.
- Auto-Align gives a strange placement: check whether distinctive landmarks overlap. Repeated patterns or too little common content can make a useful match difficult.
- Layer edges line up but the scene is doubled: use Edit > Auto-Align Layers instead of the position-based Layer > Align command.
Crop after the alignment holds
Once the intended overlap is verified, crop away transparent edges and any border where only one photograph contributes useful content. Cropping earlier can hide the very landmarks needed to diagnose a bad transform. Review the doorway, roof corner and final crop boundary together before committing to the frame.
If you expect to revise the alignment or framing, turn off Delete Cropped Pixels in the Crop tool options. Adobe states that leaving it off preserves the areas outside the crop for later adjustment; turning it on removes them. Save the layered Photoshop document with the source copies intact before making an output version. Adobe’s Crop tool options explain this setting.