
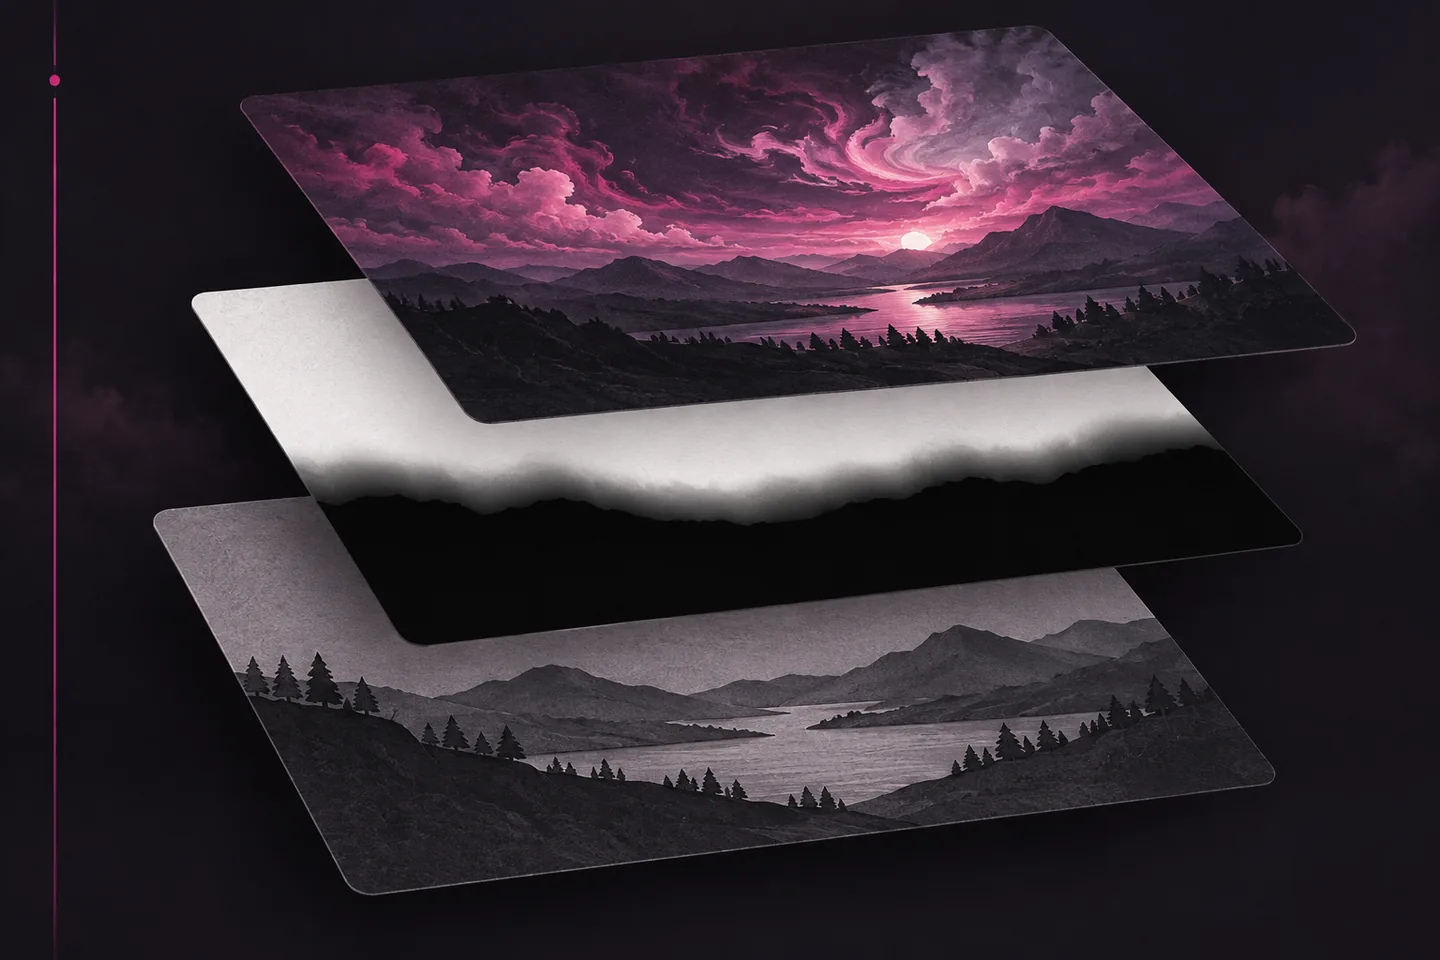
A Photoshop layer mask lets you hide part of an upper photograph, reveal it again, and refine the transition without erasing its pixels. This tutorial blends a replacement sky with a landscape in one frame.
Set Up Two Named Layers
Choose photographs with a plausible relationship. For the example below, use a landscape with a visible treeline and an open sky, plus a second photograph of a more dramatic sky. A simple horizon is easier to mask than branches against a busy background. Before editing, compare the direction of light and the height of the horizon. A striking sky will still look misplaced if its brightest area conflicts with the light on the land.
Open the landscape in Photoshop, then bring the sky photograph into the same document as a separate layer. Name the lower layer Landscape — original and the upper layer Sky — original. Keep the source files separately as well. The layer names make it clear which photo a mask belongs to, especially when the two thumbnails look similar at small size.
Position and scale the upper photograph until the sky covers the canvas and its features sit where you want them. Check its edges: an uncovered strip along the side will show through regardless of how carefully you paint the mask. If the photographs have different proportions, crop or position the upper layer deliberately rather than stretching clouds into an unnatural shape.
Leave both layers visible. Set the upper layer to Normal blend mode with Opacity and Fill at their full settings. It should cover the landscape until you edit its mask.
Add a Mask and Paint the Reveal
Select Sky — original in the Layers panel. Make sure no selection is active, then click the layer-mask icon at the bottom of the panel. Photoshop adds a white mask beside the image thumbnail. White initially shows the whole upper layer; an Alt-click on Windows or Option-click on macOS would instead create a black mask that hides it. Adobe describes both starting points in its guide to adding layer masks.
Click the mask thumbnail on the sky layer. Select the Brush tool and use black as the foreground colour. Paint across the ground in the lower half of the image. The landscape underneath appears wherever you paint black. Work broadly at first, staying away from the treeline; the purpose of this pass is to establish which photograph supplies the land, not to finish every leaf.
Now follow the boundary more closely. Paint black over unwanted parts of the upper photo so the original landscape shows through. Keep the dramatic sky white above the trees. If you hide too much sky, switch the brush colour to white and paint that area of the mask again. White reveals the upper photograph; black hides it. Adobe’s mask-editing instructions also explain that gray makes the upper layer partly visible, with darker grays revealing more of the layer below.
Use gray with a purpose. Along a soft, distant horizon, a narrow band of gray can ease a visible join between the skies. Around a solid trunk or building edge, however, a broad gray brush may make the object look transparent or doubled. There, aim for a firmer black-to-white boundary that follows the actual outline. A soft brush controls how gradually your stroke changes at its edge; a gray paint colour controls how much of the upper layer remains visible within the stroke. They are related controls, but they solve different problems.
Select the Right Thumbnail and Clean the Edge
A masked layer has separate image and mask thumbnails. Check the selection border before painting: it must surround the mask thumbnail. If it surrounds the image thumbnail, brush strokes will target the photograph instead.
Inspect the composite at two scales. Zoomed out, ask whether the sky and land read as one scene. At a closer view, trace the join across the full width of the image. Look for pale outlines around trees, repeated branches, abrupt changes in cloud texture, and small pockets where the old sky survives between leaves. A seam that looks clean in the centre may be obvious at the corners.
Correct one kind of fault at a time. If a strip of the upper photo covers the land, paint black on the mask. If a patch of the original sky breaks through the replacement, paint white. If the transition is too abrupt across an open stretch of horizon, try a softer brush or a restrained gray stroke. Make short passes and view the whole photograph between them; repeated broad brushing can gradually erase the shape of the treeline.
Save the Working File and a Review Image
Save the layered document as a Photoshop PSD with a name such as landscape-sky-composite.psd. Reopen or inspect it in the Layers panel to confirm that the two named image layers and the mask are still present. The PSD is the working version: it lets you move the upper photograph, repaint the mask, or revisit the transition later. Adobe’s file-saving guidance describes preserving layers when saving and making a separate copy for another format.
Make a review image separately, for example landscape-sky-composite-review.jpg. Use File > Save a Copy and choose JPEG, or use File > Export > Export As if you need to set the output size and format there. Give the review file a distinct name and location so it cannot overwrite the PSD. A JPEG or PNG is convenient for someone to view, but it is not a substitute for the masked working document.
Open the exported image at its intended viewing size and check for halos or overlooked patches near the frame edge. Correct the PSD and export again if needed.
A Two-Image Exercise for Diagnosing Mistakes
Use two different photographs that fill the same canvas. This exercise tests mask behaviour; the result need not be a believable composite.
- Place the photographs on separate layers and name them Lower photo and Upper photo. Put Upper photo above Lower photo. Set Upper photo to Normal mode with Opacity and Fill at their full settings.
- Add a white mask to Upper photo and click its mask thumbnail. With a large black brush, paint one obvious circle near the centre. You should see the lower photograph only inside that circle.
- Paint a smaller white circle inside the black one. The upper photograph should return there. Paint a gray stroke across one side of the black circle; both photographs should contribute to that stroke.
- Save the PSD, close it, and reopen it. Select the mask again and reshape the black circle. If that works, you have confirmed that the reveal remains editable.
If the first black circle does not reveal the lower photo, check the selection border in the Layers panel. A border around the image thumbnail means you are targeting the photograph rather than its mask. Undo the unwanted stroke, click the mask thumbnail, and try again. If the layer is an ordinary pixel layer, painting on its image can change its pixels; do not keep brushing in the hope that the reveal will appear. Also confirm that the lower layer’s visibility eye is on and that the upper layer actually has a mask attached.
If the photographs mix across the entire canvas before you have painted the circle, check the upper layer’s blend mode and opacity. Restore Normal and full opacity, then inspect the mask. A blend mode changes how layer colours interact wherever the layer is visible; it does not mark the specific area you intend to hide. Reduced layer opacity similarly affects the whole layer. In this exercise, the clean test is a fully visible upper photo with a black opening on its mask.